Technology Tidbit: labeling your quilt is so Easy!
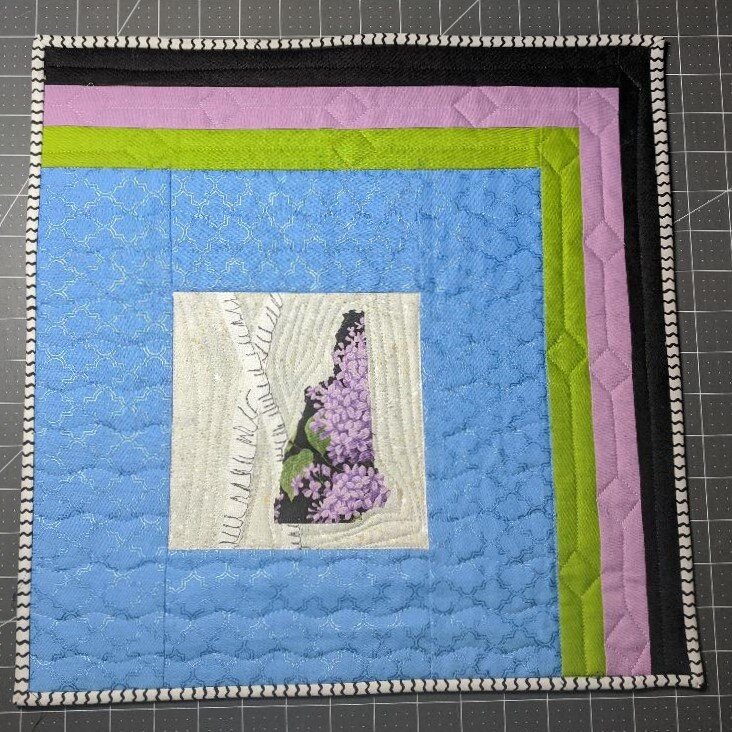
Adding the label to Spring Morn for this blog post
On this week’s blog, I’m going to be sharing with you how I make my quilt labels. There are a lot of ways to do this, and the most important thing is that you do it. There are a lot of times that quilters put a lot of time and energy into making a quilt, only to neglect this important detail. It’s very important when you make a quilt to mark a milestone birthday or anniversary, but it’s also important when you make a comfort quilt.
I found this article on the AQS blog which talks about different options for making your labels - and it’s a good jumping off point.
This method allows me to use technology, which makes it fast - and legible. Somewhere along the way, I was not blessed with the good handwriting gene - back to grade school, and it’s gotten worse as I’ve aged. Using technology allows me to use fonts and images so that I don’t have to worry
I work on a PC, and I create my labels using Microsoft Word, and print them out onto regular quilting fabric from my stash backed by freezer paper. I get all the versatility I need design wise, and the ink has never faded or run. When I began using this method, I did a test block, and then ran it through the laundry for a couple of weeks - every time I did a load, I tossed it in. There was no fading or running on that patch.
For this blog post, I’m creating labels for samples in my workroom for Spring Morn. These labels have my logo on them, as well as name, phone and email address to tag them as mine if they ever leave the workroom to go to a shop. So here is the file I’m working with…
I have found that one of the downfalls of this is that this works best with a printer sized piece of fabric…that allows the fabric/freezer paper to feed easily through my inkjet printer. You can either make a large size label and then trim it down - or in my case, make several smaller labels/tags and build up an inventory. In this case, I can fit 4 of these files onto one sheet before trimming.
fresh out of the stash!
I start by using a light piece of fabric from my stash…if I have something that was used in the front of the quilt, this can be a great way to add a design element to the label, but I can use just about any white or light fabric. It’s important that it’s slightly larger than a sheet of printer paper. I give it a good press, then trim it to the size of an actual piece of printer paper. Once it’s pressed and trimmed, then iron the paper to a similar sized piece of freezer paper - use the shiny side. Iron it down, then trim the freezer paper to be exactly the same size. My secret to this is to press around the edges again, then let it cool. Paper heated with an iron does not work well with my printer, but when I let it cool, I have never had an issue with it.
Feed the fabric backed with freezer paper into your printer. For my printer, I put the fabric into the paper tray with the fabric side down - the rollers will pull it through and have your image printed on the front of your fabric.
This is what the labels look like once I’ve removed the freezer paper (on the right).
Truthfully, I’m not 100% happy with the font that printed on the label…My name is a bit cut off. I am breaking in a new printer, and I didn’t see that before. By tweaking the layout, I was able to adjust the spacing on the file, and it would have printed out better. If this was anything other than a tag on a sample, I would re-do it.
Tweaking the spacing on the 3rd version worked much better in the file.
The last step in this process for me is to put some fusible web on the back of the label so that it can be attached to the quilt. I use Mistyfuse® on my project here, and fuse the entire sheet…then I trim the 4 labels to size.
The final product.
Welcome…
Hi, I’m Linda Pearl - quilter, teacher, designer and blogger, and I’m happy to have you here. I’d like to tell you a little bit more About Me…


