Pulling a Stash Quilt together
From the workroom - first impressions of a long forgotten block raffle.
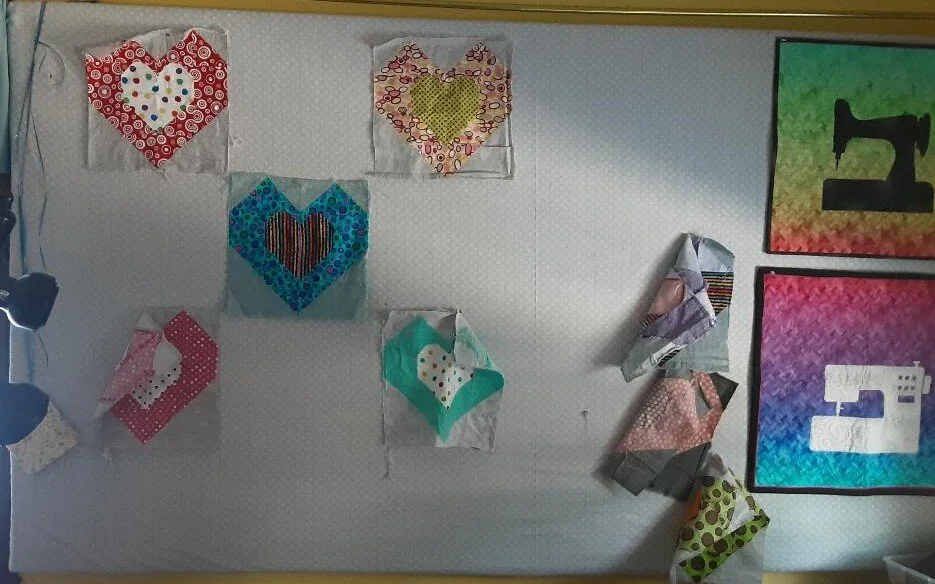
Earlier this year, I pulled a good cross section of quilt tops together, with the idea of using them to work on my free motion quilitng. This flimsy came about because I had won a group of blocks at our guild’s BOM raffle a number of years ago, and I thought I’d take a fresh look at them. The photo above shows them fresh out of the bag - it was more or less a first impression.
My first first impression was that it was tipping over…to me, it’s off balanced, and working with 8 blocks was frustrating. I could take off some of the left side ones, and tack them onto the bottom, put one on the back, add a border, and call it a day. I looked but I couldn’t find any more blocks, although I was able to find the pattern. More coffee followed, then the seam ripper…and now I had this to work with.
Now I could begin to play with the arrangement.
Once I had pulled all the pieces apart, I could begin to play with the individual blocks to see how they worked together. These were blocks that had been made by women in my quilt guild (and one of them is the one I made), but they were made with a common theme to the block - polka dots - and not color. After looking at this for a few days, I ultimately decided to group together the three hearts with white centers into one crib sized quilt, a second quilt of the same size with tones of orange and green, and then the two wild color ones together - I may make a third one to round them out.
These three just looked like a natural grouping to me.
So I’m starting with the first quilt (above) in the series, and I’ll eventually be doing blog posts about the other two as I work my way through the pile. Its funny, but in my APQ UFO list, this is one project! I’m going to have to pace myself. The idea is to keep the energy of the scrap quilt going in each of these, but in different ways…we’ll see how I’m doing by quilt #3.
One challenge I’ve had with these blocks is that although the pattern is supposed to be unfinished at 12 1/2”, I’ve yet to find one that does…my own included. I’ve worked these blocks to be as square and similar in size as I can - this is a baby quilt, which with any luck will be used to death.
Welcome…
Hi, I’m Linda Pearl - quilter, teacher, designer and blogger, and I’m happy to have you here. I’d like to tell you a little bit more About Me…
Fabric pull - thread and scrappy flange
In this series, I’ll be working with a design element I love - but in 3 new ways. My machine binding technique for a Flange binding technique is very popular, and here, I’ll be working out variations of that same technique - called the Scrappy Flange. In the picture above, I raided my jelly bin for strips that I can use in my flange…all strips/scraps which are in the same tone as the central heart. I’m using this photo as a way to pick the best thread to use for the flange… I see lots of yellow undertones in this. Watch this space for more photos of this stash quilt in process.
Why is it a stash quilt, not a scrap quilt? In pulling fabrics to match the original hearts, I pulled a lot of fabric out of the stash. A LOT. I started with my scraps, but most of the fabrics added here will in fact be yardage.


