Project recap: Coco Fun
When I first began quilting, I was intrigued by the concept of a quilt challenge. I fast tracked from intrigued to falling in love with the process – hard – and I try to participate in them as often as I can. Last week, our guild held the reveal of the 2022 challenge, and I was pleased to have my quilt “Coco Fun” in such fine company. I’ve given glimpses of the designs in my social media in the past couple of weeks, but this is the story of the whole challenge.
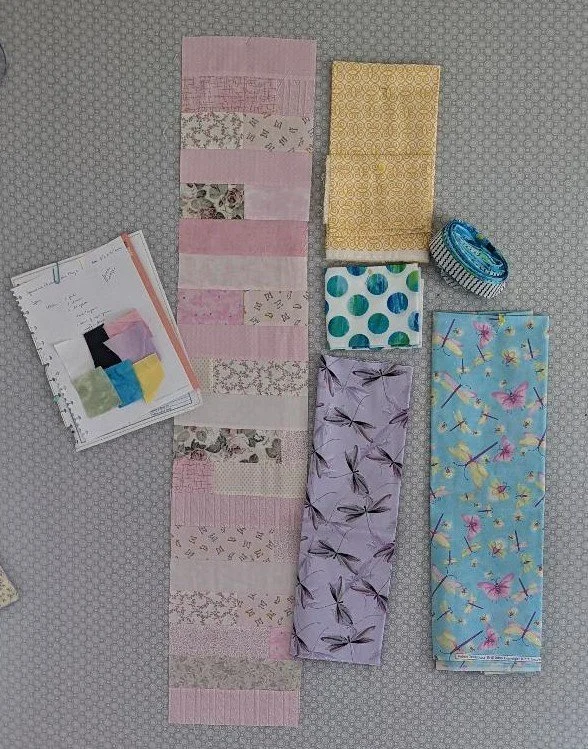
This Challenge was called the Four Season Mural Challenge, and the impact of the quilts was to have them displayed en masse as a singular installation…which meant that one of the first challenges I had to overcome was size. Each of the individual quilts was supposed to be 8 ½” wide and 40 ½” long. The second challenge was color…each member was free to make as many entries as they wanted, but if you did only one, you were encouraged to use your birth season as your color key. I’m Spring – so that meant my palette was pink, lavender, light yellow, teal/turquoise, a touch of light green, and white and black. My first step in the process was a fabric pull, so I could get an idea of the colors.
I tried to be adventurous here with the background, but the palette was too pastel for me, and none of the colors worked with what I pulled. Thankfully, white was one color that I could use, so I reverted back to the safe space, and then looked around for a bit of inspiration. Turns out, he was right outside my kitchen window…
Did someone order inspriration?
I live in the Northeast, and for the past couple of years, we’ve been overrun with wild bunnies. They arrive in the spring, and stay all summer long. I’m not a gardener, so I (and the grandkids) think they’re adorable. We have nicknamed them the Cocos - my grandkids have a real pet bunny at home named Coco, and explaining the difference is hard. Coco works for us.
Now that I had a palette and a theme, I went to work. I didn’t use a pieced block on this project, but rather I went looking for a file that I could use with my Cricut maker to cut the bunnies. The file I had allowed me to use various sizes and shapes -because you know the bunnies never stand still for long, and they give it a whimsical feel. It also allowed me the flexibility to resize and flip the images to enhance the feeling that they never stand still for long. I took the bunnies with me on retreat in March, and worked on them while I was there. Once they were stitched down, I pulled out beautiful hand dyed threads (perle 8) that I have from House of Embroidery, and began to play. A few flowers, some grass…and more flowers added more personality to the piece.
Close up of both the embroidered embellisments, and the background quilting.
I love adding texture to a piece with background quilting, and in this case, Bold Notion Quilting’s Tutorial on Concentric Flowers gave me just the push I needed. It’s an easy, forgiving design that worked well with my Wee Wild ones. One of the social media teases showed the sketchpad I that I worked with before adding thred to the mix. it was mesmerizing…something that really clicked with my brain.
This design is easy to change scale, and direction. It will be something that I use again.
Pulling texture out of a design.
This piece could have been finished any number of ways - and I was seriously considering a faced binding. In the end, with a deadline and a plane to vacation looming, I defaulted to the flange binding technique, using one of the colors in the design to highlight the edge. Any of the colors would have worked, although adding green might have taken me too far away from the original instructions of A Touch of light green. And we know I never ever break challenge rules - I bend them instead.
This month, my Monday Night Mini session for May is a sew along session for the Flange Binding technique, and if you’re interested in that, here’s a link to that session here.
Now that the piece has been shown, the last step is to collect everything about it and place it into the archive system I have created to keep track f my projects. How do you keep track of your finished projects?
I’ll also include a hard copy of today’s blogpost in this envelope, so I can remember the details of what I did. And now this project is ready to be added to the notes for my Challenge trunkshow.
My 2022 Guild Challenge
Thanks for reading - I really do love working on my challenge projects. What are you working on?


