(Tipmas) Luminous, Meet Liberty, (Part 2)
This is the follow up to a post I did earlier this year on the Liberty wallhanging. This was created earlier this year as part of the Adventures in Quilting Sew Along hosted by Tammy Silvers and Kate Colleran in support of their new block of the month quilt, Luminous. You can see the original post that I did on this project here, In this post, I’m going to talk about creating the space for the free motion feathers, as well as using my twin needle to create the beadboard effect in the border. To recap, Liberty was created using a portion of the Selene block as the center point, with some of the Aurora blocks surrounding it. This is a unique interpretation of the block placements, dictated by the space the quilt will live in. You can take any element or set of elements from a pattern and make them your own.
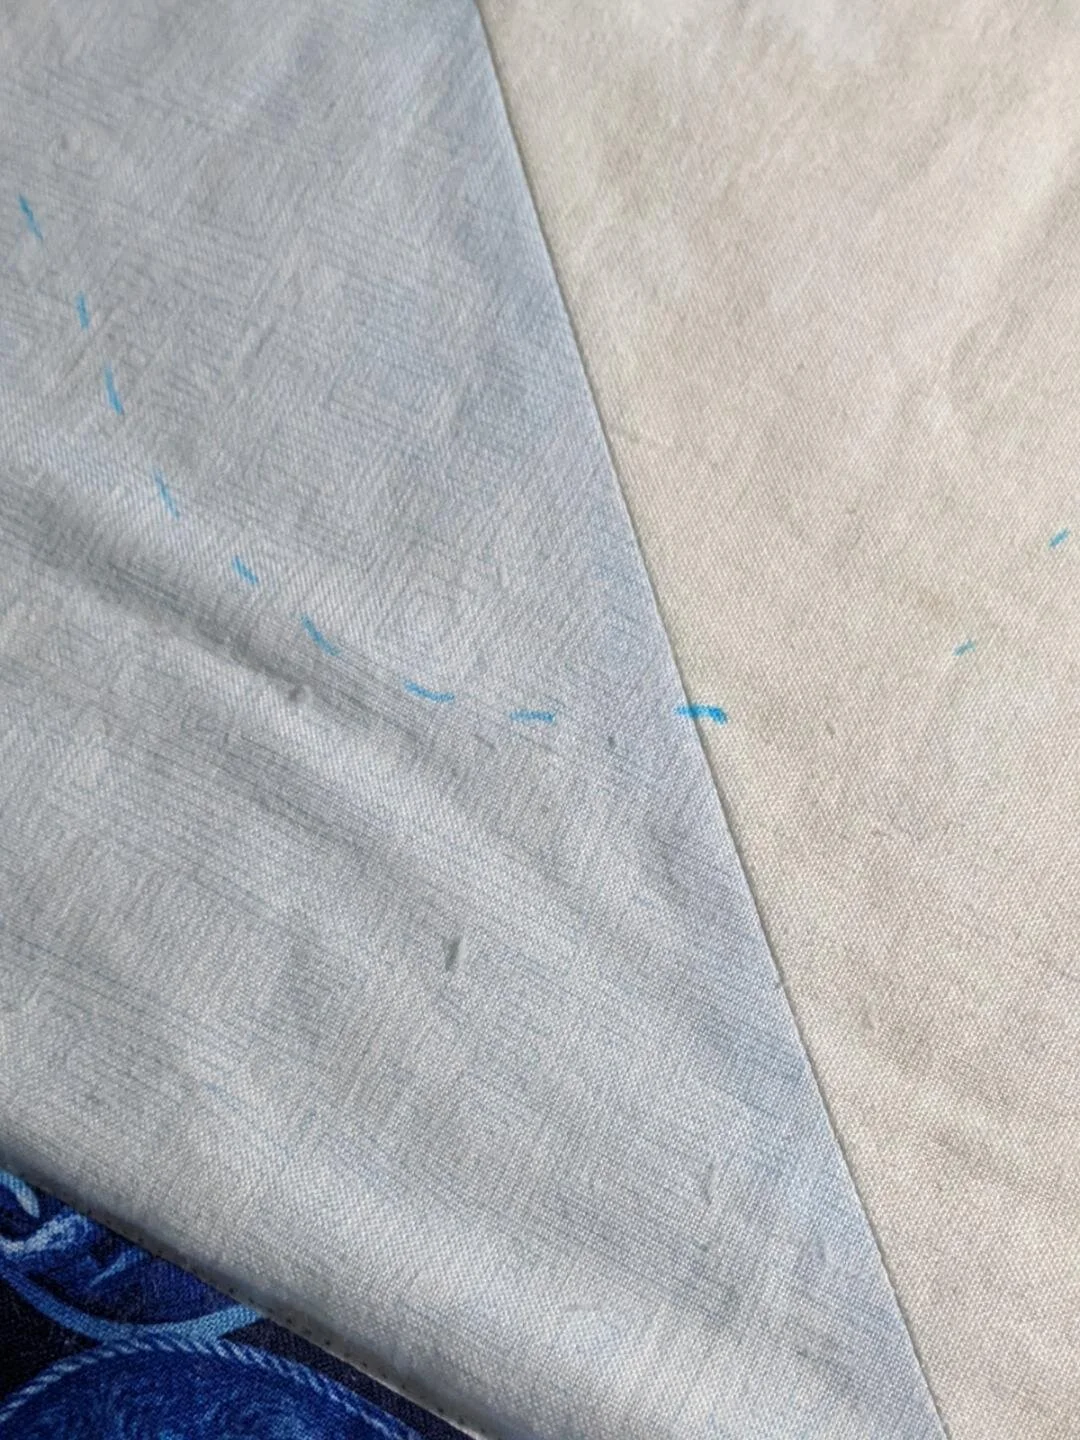
FREE MOTION FEATHERS: Once I had pieced the 6 Aurora blocks and set them on a diagonal axis in the quilt, I created a mitered border for the other 2 points, using the cream and the light blue which appear in the quilt. Once that was done, I put very light registration marks on the negative space so I would know where I was going with this. I really liked this element of the piece, because it gave it some much needed breathing space.
I have learned that I have better results when I sketch it out.
BEADBOARD QUILTED BORDERS: This was a technique I had wanted to try for a long time, and once I had the grid marked out over the border, it was easy to execute - although I did find it a bit boring to stitch out. I used my 1” marking grid and my pounce pad, marking the 1” grid all over the border. The pad will mark it with 1” squares, you just need to ignore the cross line, and stitch from the inside of the border to the outside -all the way around the piece.
I really began to love my pounce pad at this point - this was going to be easy and fast!
To quilt the beadboard once I had marked it, I set up my Janome with the accufeed foot and with a double needle. I really need to work with that set up more - it gives you quite a punch. There is a spacer bar that I can insert into the foot which allows me to set the proper width for the lines. I decided on a 1 inch mark, and aligned the left hand needle with that mark all the way around. The chalk marks are the iron-off marks, easily removed by a hot iron.
Here’s the detail of the double needle and the spacer bar.
I knew that I wanted a fast finish on this piece, and I was able to attach it by machine with a flange binding. I’ve done a video on that topic, and it’s on my youtube channel here. It’s a great, easy fast finish that’s my all time favorite.


