How to fall back in love with my UFO…
How I fell back in love with my UFO…
I fell hard for this one -
In today’s blog post, I’m going to be taking you behind the scenes in my process of falling back in love with one of my very oldest UFOs in my room - a project I’ve been blogging about with the hashtag #neverendingembroideryproject. This has been in my stash for about 10 years at least; it’s a handwork (don’t faint!) project that is based on the alphabet.
This was one of the first projects I bought on my first trip to Paducah, and the vendor mall where it was showcased was one of the first ones I encountered. I had learned to embroider as a young girl, and I thought it was a beautiful pattern. It is beautiful - it’s by Crabapple Hill Studios, and it’s well done. With a large number of patterns, I never really got into the rhythm or organizing the project…so it sat in a bin in the deep recesses of my closet.
I made attempts - but none of them really got off the ground,. I borrowed a lightbox from a guild mate at a retreat at one point - and spent the better part of the entire weekend painstakingly tracing all those patterns onto muslin. I have since found a better way to do this - stay with me to the end for that. I never really had a plan to get this project into my workflow.
This year, with Covid, and the desire for a more hands on project, I took this one out yet again to see about it. I was frankly at the point where I needed to decide whether I wanted to work on it, or to place it on quilters classifieds.
I took it out one afternoon in yet another half hearted attempt to work on it, and found myself again flipping through page after page trying to get a toehold on it. I finally snapped and literally broke it down so I could begin. I did, and you can too!
Here are 5 steps I took to fall back in love with it.
Step 1.
Do a complete inventory of the pattern.
There’s no sense starting this if I’m missing one of the letters. Done…
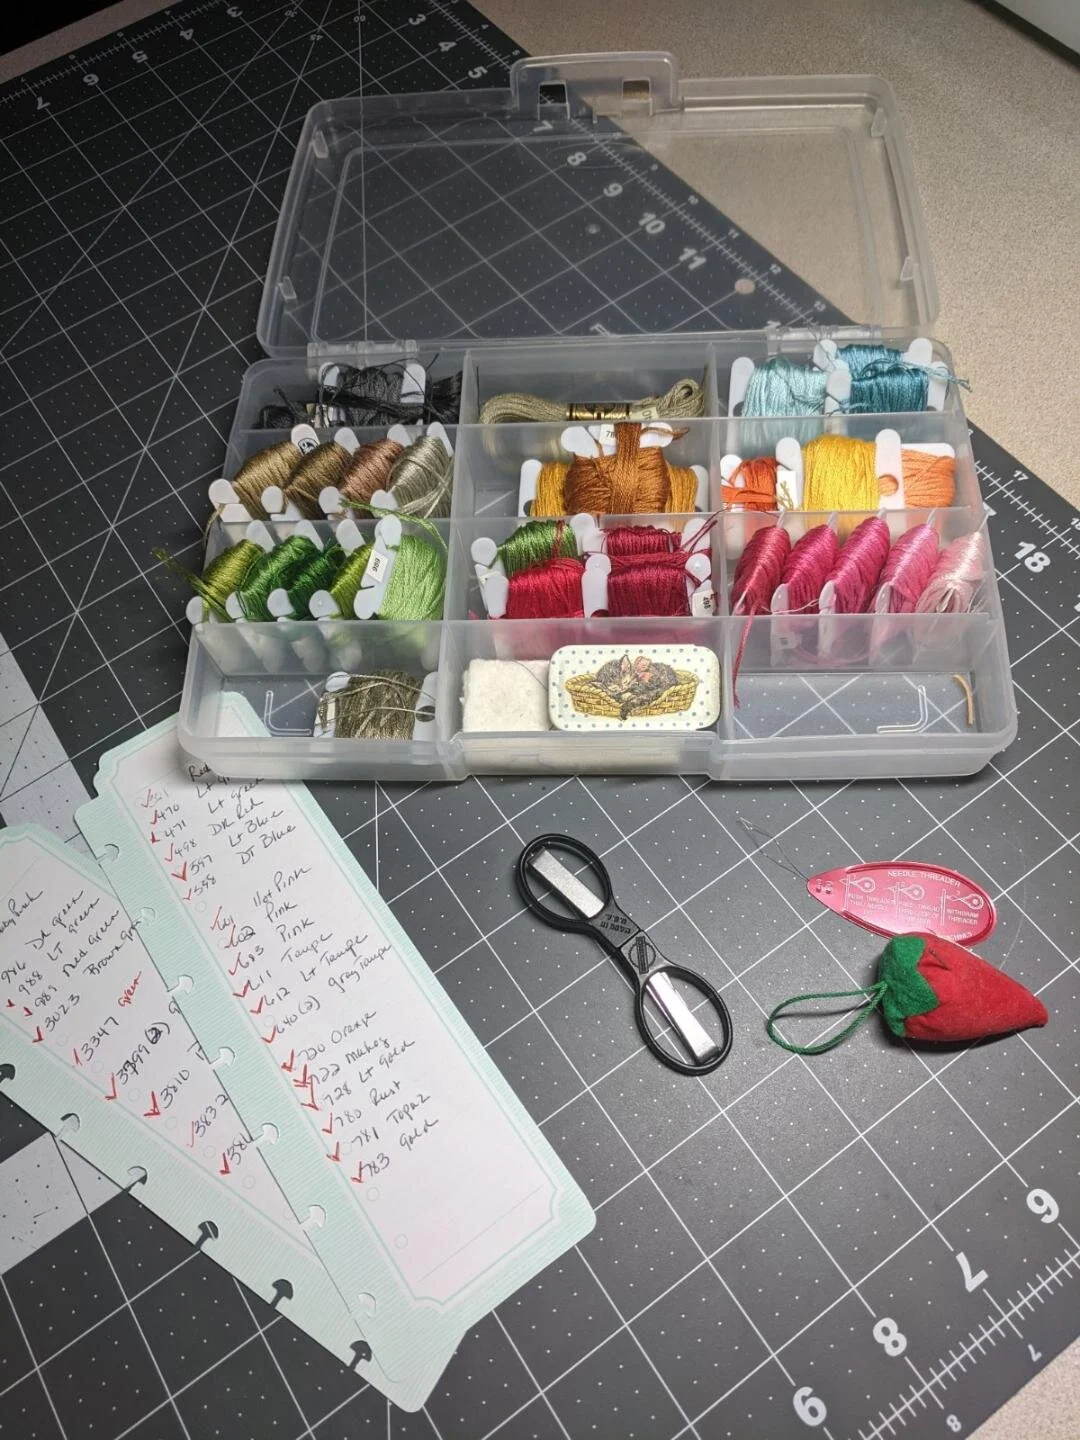
2. Inventory the threads…I had all of them as well.
Organize the threads by color, not by number.
Have a written key with both the numbers and the color written on it. Keep that with the floss.
3. Find a hoop that fits you.
This is a 10” hoop, and I like working with it. My hands are fairly large. I had been using a smaller hoop, and I was fighting it.
In order to make the project fit the hoop, I add scrap pieces to each side so it fits into the hoop. All the blocks are oversized and will need to be cut down later.
4. Create a home for your project - a box or a bag, a place where it belongs when you are done with it for the night.
I love the portability of a project bag, because I stitch in the family room. It’s secure, it’s large enough to fit everything (readers!), and it’s lightweight. Easy to pick up.
5. I have a series of hard plastic boxes here in my workroom that I use to organize my ufos - and in this case, in addition to the project bag which goes up and down stairs with me, this project has a large box.
This has all the patterns, the completed blocks, extra muslin, and a calendar that I use to keep me on track. I’m planning on getting this done before the first day of spring.
I’m hoping that’s spring 2021…in case you were wondering.
BONUS!!
HAVE I GOT A HACK FOR YOU!!!
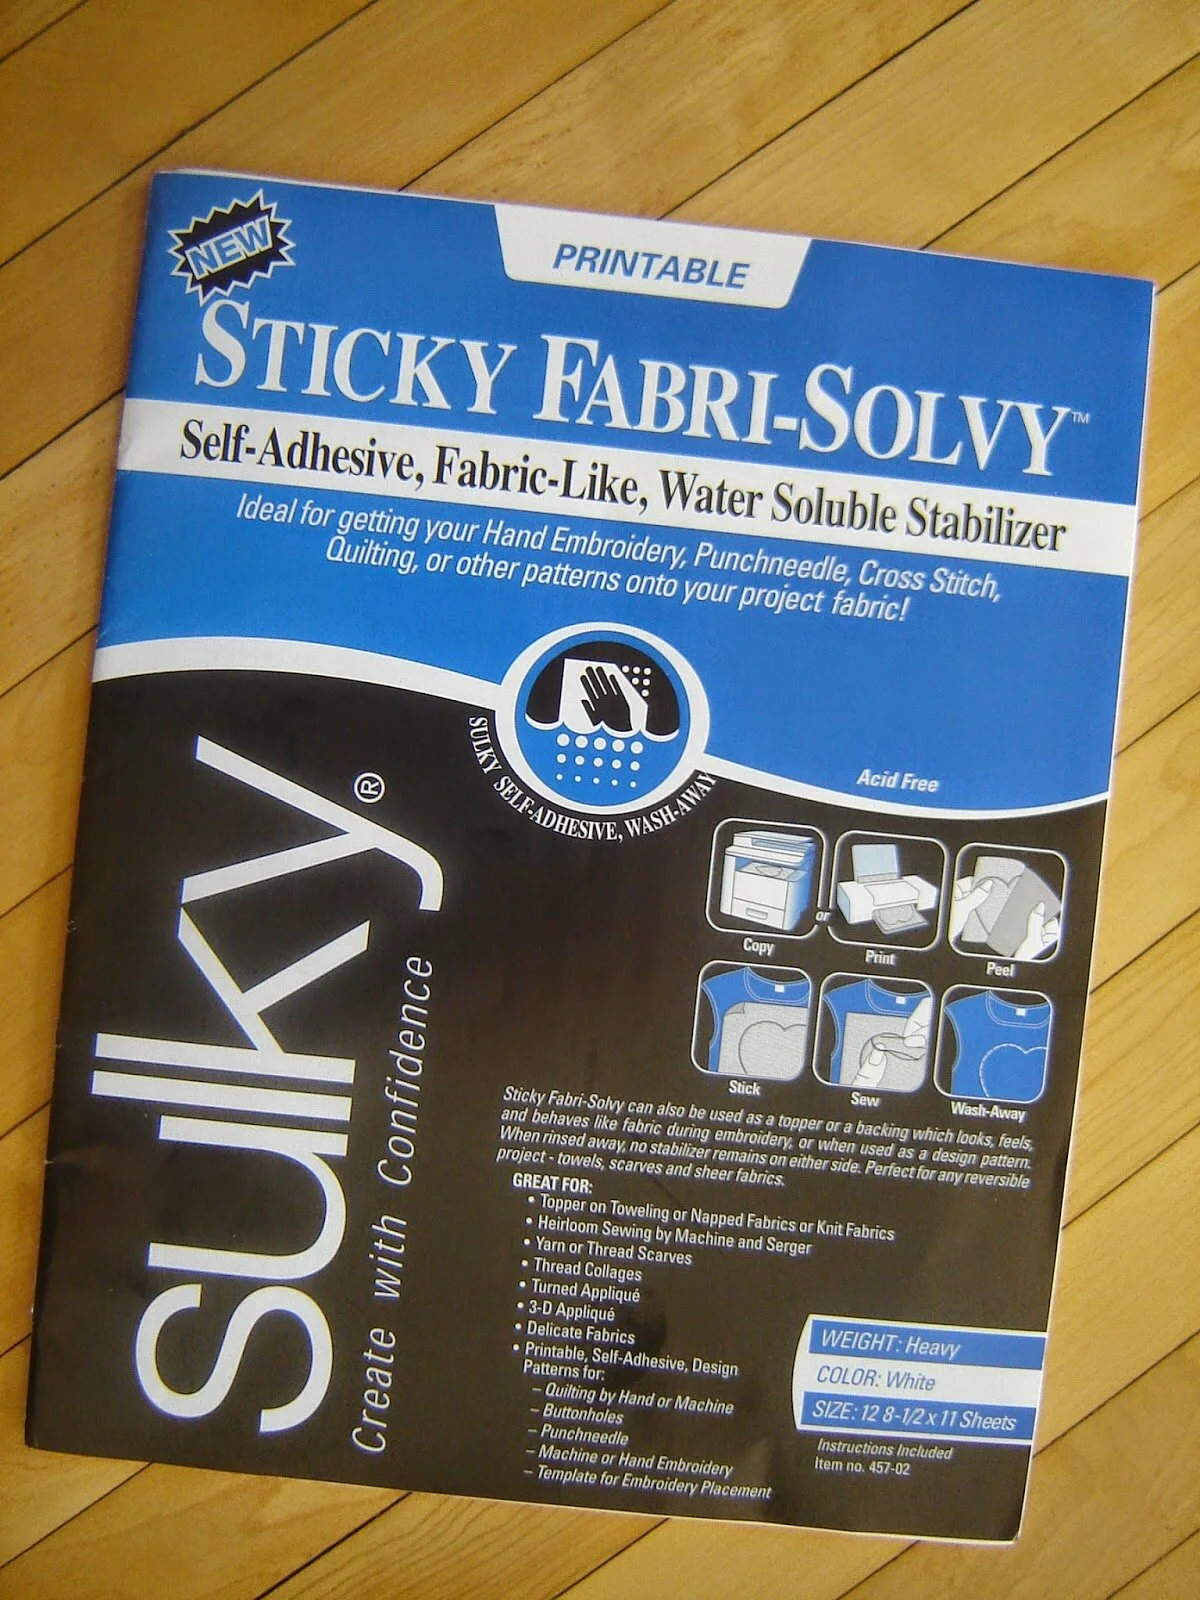
Earlier in the blogpost, I mentioned I traced all the patterns by hand. I didn’t realize it at the time, but there’s a much better way! Simply scan your pattern into your computer, and print them out on these sheets. Baste it down to your fabric, and then stitch your design as desired. When you are add water and the stabilizer will disappear.
